OneDose support
Help when you need it.
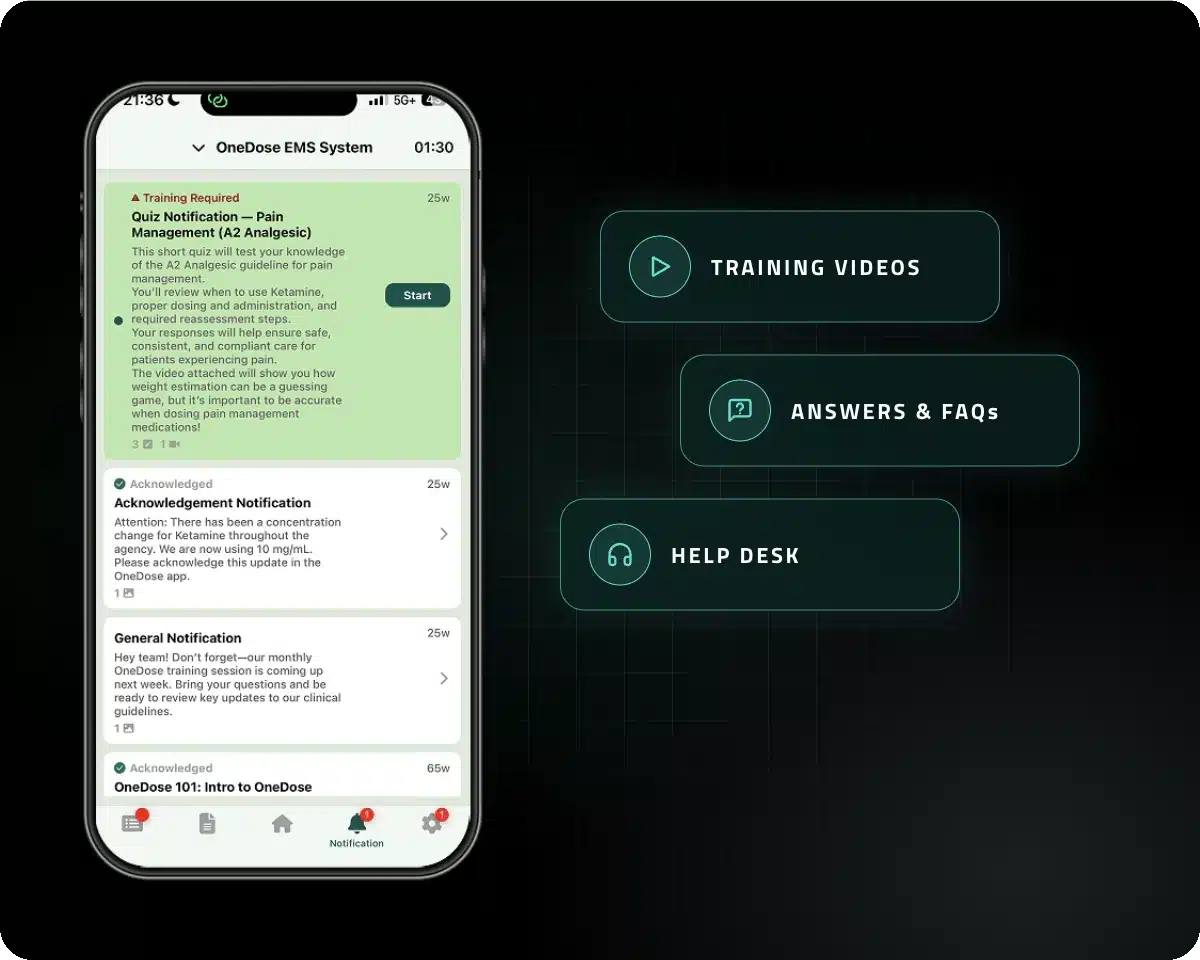
Training, answers and a responsive help desk for OneDose and OneWeight.
Help desk
Real people, ready to help.
Technical support
helpdesk@myonedose.com
Email us anytime. We reply to most requests within 24 hours and put urgent issues first. Include your agency name and a screenshot.
Training
Every training video lives in OneDose Academy.
Already using OneDose? Log in to OneDose Academy for all OneDose and OneWeight training videos, guides and quizzes.
Request agency trainings by emailing helpdesk@myonedose.com.

OneDose FAQs
Questions agencies ask.
Platform overview
Setup and deployment
Clinical and operational use
Security
OneWeight help
Keep every scale running.
OneWeight® System Training
OneWeight®: Error Codes & Troubleshooting
Video transcripts
OneWeight: using the scale
Alright, to start with the basics cleaning the device, so feel free to clean the device with any products that you would commonly use for your gurney including and not limited to spraying it down with water. The system is completely waterproof and the paint is just aesthetic meaning that if you do get in there and really scrub off some of that it's just aluminum underneath so you're not going to be damaging the system at all. The only caveat to that is this LCD screen here at the top.
We suggest you treat that more like your monitors themselves in which you would take it and wipe it down with an alcoholic cloth That way not to make the screen foggy. So our OneDose scale attaches or clamps to mounts That your technician would have installed for you. So these mounts are what we put on to the pre-existing holes In the striker gurney to not void any warranty. We then clip directly on to the mounts that we attached Allowing for a little bit of wiggle on the panel, but maintaining the gurney's crash test rate in as a whole, God forbid that you get into a roller in an ambulance, this isn't going to fly off and hit someone ahead or cause a patient any harm.
Alright, so each one of these panels is connected to the other through a single wire. With the topmost panel only having a female wire, these having a male and female, and this bottom one only having a male. So you connect it the same way to each panel and making sure this clip is properly connected will ensure that the system doesn't come apart in the field. These here are load cells themselves. So these, similar to the panel itself, should have a little bit of play in it.
And the reason that is by pushing these against the top face of the striker gurney. When we push down on it, that's how we're able to get your patients away. All right, to connect the 1-dose scale to 1-dose itself, the first thing you do is turn on the scale in which if the Bluetooth is enabled on your app, you will see the scale pop-up. It'll let you know when it's connected. We talked about the basics, we talked about the Bluetooth connection, now let's talk about the 1-dose scale specifically.
So, the first thing that you're going to want to do is learn how to turn it on. You got the green button over here, the green power button, that when the green light is on, the system is on, when the green light is off, the system is off. So to turn it on, you simply press the button there by engaging the power for the whole system. And then on the right side of the OneDose scale, you have the tear button and the LCD screen.
Note they can also see both of which on the OneDose app themselves. This over here is what we consider more of your emergency control panel. So we see mostly usage for this tear button and this LCD screen if the Bluetooth connection to the app itself fails. Alright, so the charger for the OneDose scale comes in two pieces. First, you have the dongle. Second, you have the power source. The power source is what actually plugs into your classic 110 volt outlet inside the ambulance.
The dongle enables there to be a breakaway between the power source and the part that actually plugs into the scale. So if you're thinking to yourself, wow, I cannot get this power source plug into the scale itself. It's likely because he lost the dongle. Unscrew it here, Match up the dongle with the charging port on the OneDose scale. You can screw it in. Notice when the light is red, that means it's still charging, and when this light would turn green, that means the charging is complete.
If you forget everything else we talked about in the video, just remember these next three main clients, and that's how to use the scale in the field. Step 1 is always make sure that your X-wings are arm rests are fully down. The reason that is anything that doesn't press through our system onto the top face of the striker gurney is going to what we call eat the patient's weight, meaning it's going to take it away from the total amount. The X-wings not having load cells on them are included in that category, so by squeezing these up super tight, you're eating some of that weight.
So our recommendation is that the X-Wings are fully down if possible. And if not possible, per your protocol or guidelines set, one click or just making sure the mattress isn't smushed up against it is equally good. Next, you're going to make the backrest as flat as possible. So you are always going to get the most accurate patient reading when the backrest is flat. That's just because that's how the math works. But we do know there are certain situations in which that isn't possible, hence like respiratory patients.
So if you do need to have the backrest up, you can move it towards a semi-fowler position. You want to avoid going all the way to follower. Semi-fowler or 45 degree angle with a backrest is the highest recommended angle in which to capture a weight. The reason that is because when the systems flat, we're just taking all 18 of these load cells that are adding them together. As soon as you increase that backrest angle to any significant degree, you're changing it from a simple addition problem to more complex static equation in which we're making assumptions about things like friction.
So the bottom line is, flat you're always going to be most accurate as soon as you start moving it up a little bit. You're still going to be accurate within our specs, but you may see a little bit more weight fluctuation. The last step, and yet sometimes the hardest to remember, is to remember just to press that tear button before the patient gets on there. We do have a system just like a bathroom scale in which it will automatically tear it, but best practices for a number of reasons is to always tear the scale right before the patient gets on there.
By doing these three steps, you're putting yourself into a very good position to capture weight. Practically speaking, what we see most in the field is that whoever is in charge of the gurney will take the gurney out of the ambulance. I set it up in a position in which you can take the patient to the gurney or the patient can take themselves to the gurney. Do these three steps. Move the X-Wings down. Make the backrest as flat as possible. Tear the system, and then as long as there's no interference or so unmesting around with the scale itself, any time the patient gets on there within the next hour is going to be an accurate rating.
The last thing that you want to consider is to make sure that the weight is fully locked in before raising the X-wings up and strapping the patient in with seat belts. You will notice the LCD screen here with the weight will blink at you three times. The app will have it say re-way instead of zero, it will also tell you that it's locked in, and the way it will no longer fluctuate if the patient is moving. After that weight is locked in, seatbelt's on, X wings up, ready to go, and you have your accurate patient weight.
OneWeight: error codes and troubleshooting
Alright, error codes. So error codes are always going to appear on your small emergency LCD screen on the top most corner of your 1-dose scale. Ericodes can range from e-1 to e-21, sometimes e-99. The one consistent pattern here is you're going to see an e-number. That number corresponds to a specific error code that is defined in your user manual. This is to protect you from using the scale when you have a damaged load cell or in this case E-20, one of the panels is not properly connected or E-99 when you have a battery malfunction.
If you are seeing an error code please reach out to your OneDose rep. Trouble shooting an inaccurate OneDose scale. So if you're not getting an error code and yet you believe that your system is not reading accurately, follow these steps in this order. So first, remove the mattress from the top face of your scale. Next, you are going to check to see if anything is lodged in between the scale and the top face of the striker gurney, such as this red thing here.
Remove any of those items that are lodged between them and please try it, rewain, again, common things to get lodged between them are seat belts, these red handles, ringes, hopefully not that, but things can get lodged in between our system and the top face of the striker, gurney. If you have cleared all that and you're still getting inaccurate weight readings, the next step is to use the gauge weight. All right, I have a 20 kilogram gauge weight here and we are going to be testing to see which one of these panels is throwing our scale reading off.
So the first thing you're going to do, clear everything out, check to make sure nothing's lodged in between our 1-dose scale and the striker gurney, and then lower the back rest down and then press the tear button. Now that the system is flat and tired, you're going to take your 20 kilogram gauge weight, starting with the bottom most panel, simply put that on there and wait for the readout to be levelized. If it reads 20 kilograms, you're still reading accurately. You're going to repeat this process with the next two panels by taking it off, zeroing out the system, putting it on there.
Well, you measured these three bottle panels which all checked out in their accuracy. So stop and listen to this before you go to the final panel. So we have tested the bottle three panels of our 1-dose scale and those have all checked out to be accurate. It now is time to check the top most panel. This one being slightly different has a load cell that is perpendicular to all the other load cells on here, which allows us to lead in the upright position.
But what we don't want to do is test for that one right now. So we're going to make the top panel flat. We're going to float it up a little bit so that one's not engaged. And then we're going to toss the gauge weight onto that panel. So if you test it out, each one of these panels and they all read 20 kilograms. That means your systems accurate. In that case I highly suggest you go back and watch our OneDose scale tutorial on how to accurately get patient weights in the field.
OneWeight FAQs
Scale questions, answered.
Device overview
Setup and use
Accuracy and maintenance
Safety and troubleshooting
Get the app
Get the OneDose app.
Available on iPhone, Android and the web.